Setup Your Computing Environment
The teaching team will be using ROS2 Foxy with Ubuntu 20.04 and we recommend you do the same. We have also tested the instructions below on the following platforms: Ubuntu 20.04 with ROS2 Galactic (after replacing each instance of foxy with galactic in the instructions) and Ubuntu 22.04 with ROS2 Humble (after replacing each instance of foxy with humble in the instructions). If you have a good reason to use either of these two alternate configurations, you will probably be safe to do so, but we won’t be testing these alternate configurations thoroughly.
While there are other ways to install ROS on a computer (ROS2 for Windows, ROS2 through Docker, ROS2 through Windows Subsystem for Linux, ROS1), you really, really want to use Ubuntu running via dual boot (not as a virtual machine). We have found that while these other setups work to varying degrees, there are always little issues that will crop up that will likely get in the way of your learning. While setting up a dual boot takes some time, you will find that the payoff is quite big (both in terms of the smoothness of your experience and in learning how to interact with a Linux environment).
Setting up a Dual Boot
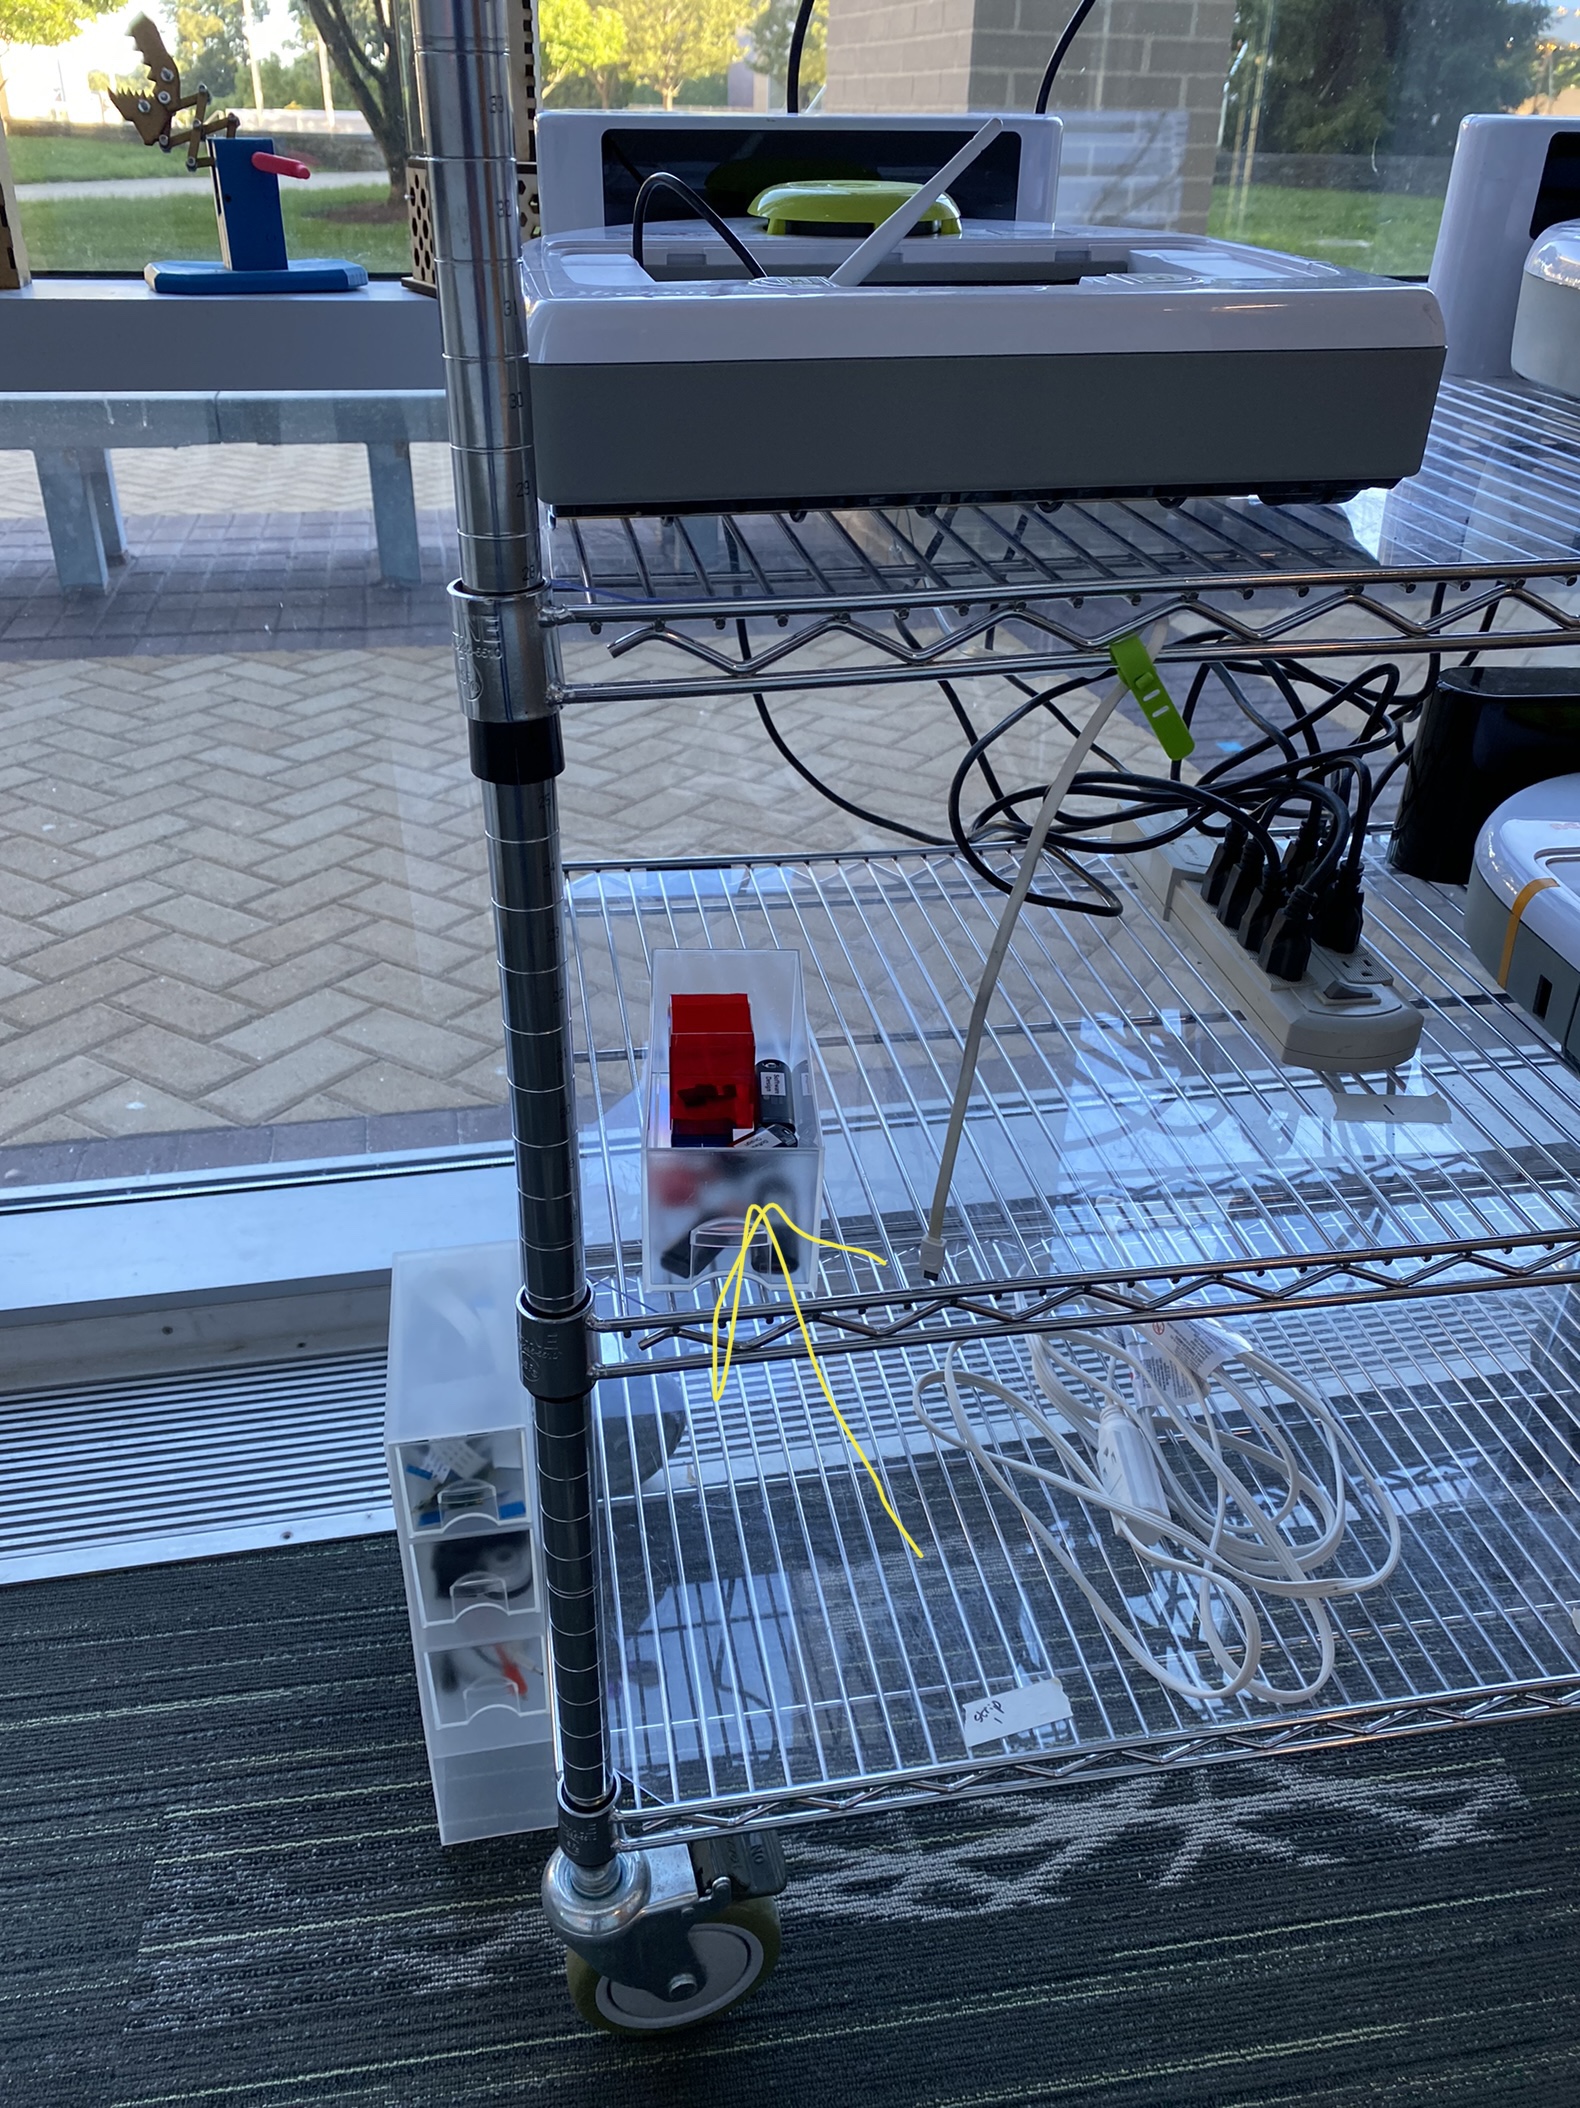
In order to setup your computer for dual boot, you need to create a bootable USB thumb drive with Ubuntu 20.04 on it. Itzgeek has a nice walkthrough of how to do this that will allow you to take an existing USB thumb drive and convert it into a bootable installer. We will have some of these thumb drives available for you to use, so look for them just outside of MAC126. Here is a photo that shows the location of the thumb drives!

A few quick notes:
- If you have Ubuntu 18.04, you can upgrade it 20.04 using these instructions.
- When going through the Itzgeek tutorial, we recommend following the instructions under “Create a bootable USB disk”.
- When installing Ubuntu you will likely need to shrink your Windows patition to make room for Ubuntu. The Itzgeek instructions show how you can use the Disk Management utility in Windows to accomplish this. Unfortunately, sometimes you will not be able to shrink your volume in this way. If this happens to you, we recommend using the Ubuntu installer to shrink your Windows partition. If you continue to have issues, we had success using EaseUS Partition Manager. If that still doesn’t work, send us an e-mail (see below).
- You should probably reserve about 50 GB of space for Ubuntu.
- When installing Ubuntu, you should select the options to Download updates and Install third-party software.
Once you have a freshly installed copy of Ubuntu 20.04, perform the following steps.
Troubleshooting
One student reported an error message about needing to turn off RST to install Ubuntu. The student was able to find a workaround. If you have this or any other issue, please send an e-mail to pruvolo@olin.edu.
Make Sure Your NVIDIA Card is Setup
Depending on how you installed Ubuntu, you may not have the drivers installed for your NVIDIA graphics card. To check whether you have the NVIDIA drivers installed, you can run the following command in a terminal window.
nvidia-smi
If you have the drivers installed, you should see output similar to the following.
Wed Sep 16 13:53:41 2020
+-----------------------------------------------------------------------------+
| NVIDIA-SMI 440.100      Driver Version: 440.100      CUDA Version: 10.2     |
|-------------------------------+----------------------+----------------------+
| GPU  Name        Persistence-M| Bus-Id        Disp.A | Volatile Uncorr. ECC |
| Fan  Temp  Perf  Pwr:Usage/Cap|         Memory-Usage | GPU-Util  Compute M. |
|===============================+======================+======================|
|   0  GeForce MX150       Off  | 00000000:02:00.0 Off |                  N/A |
| N/A   54C    P0    N/A /  N/A |    316MiB /  2002MiB |      5%      Default |
+-------------------------------+----------------------+----------------------+

+-----------------------------------------------------------------------------+
| Processes:                                                       GPU Memory |
|  GPU       PID   Type   Process name                             Usage      |
|=============================================================================|
|    0      1024      G   /usr/lib/xorg/Xorg                            29MiB |
|    0      1786      G   /usr/lib/xorg/Xorg                           126MiB |
|    0      2019      G   /usr/bin/gnome-shell                         101MiB |
|    0      4581      G   ...AAAAAAAAAAAACAAAAAAAAAA= --shared-files    19MiB |
|    0     78591      G   /opt/zoom/zoom                                24MiB |
|    0     84198      G   /usr/lib/firefox/firefox                       1MiB |
+-----------------------------------------------------------------------------+
If you see a message that nvidia-smi is not installed, you can use these instructions to install it.
Install ROS Foxy
Follow this tutorial (make sure to install ros-foxy-desktop rather than ros-foxy-ros-base).
In addition to the ros-foxy-desktop package, you should install these additional packages to allow you to stream video from the Neatos and interact with the Neato simulator.
sudo apt-get update && sudo apt-get install -y ros-foxy-gazebo-ros-pkgs \
	ros-foxy-nav2-bringup \
	ros-foxy-navigation2 \
	ros-foxy-camera-info-manager \
	ros-foxy-cartographer-ros \
	ros-foxy-cartographer \
	ros-foxy-gscam \
	python3-colcon-common-extensions \
	gstreamer1.0-plugins-good \
	gstreamer1.0-plugins-bad \
	gstreamer1.0-plugins-ugly \
	gstreamer1.0-libav gstreamer1.0-tools \
	gstreamer1.0-x \
	gstreamer1.0-alsa \
	gstreamer1.0-gl \
	gstreamer1.0-gtk3 \
	gstreamer1.0-qt5 \
	gstreamer1.0-pulseaudio \
	python3-pip \
	hping3
Setup your Workspace with the Neato Packages
Next, you’ll be creating a workspace, downloading the packages required to connect to the Neato, and building those packages. You’ll be learning more about what’s going on in these steps later in the course, but if you are curious see this ROS tutorial
source /opt/ros/foxy/setup.bash
mkdir -p ~/ros2_ws/src
cd ~/ros2_ws/src
git clone https://github.com/comprobo22/neato_packages
cd ~/ros2_ws
colcon build --symlink-install
source ~/ros2_ws/install/setup.bash
Edit your ~/.bashrc file so that the your workspace is correctly loaded whenever you start a new terminal (note: if you are using a different shell, you may have to adjust this).
echo "source ~/ros2_ws/install/setup.bash" >> ~/.bashrc
Set your ROS_DOMAIN_ID
ROS2 uses the environment variable ROS_DOMAIN_ID as a way to isolate various ROS2 environments. Each student will have their own ROS_DOMAIN_ID assigned to them so there is no cross talk between computers. Check on Canvas for your domain ID and add it to your .bashrc file using the following command.
echo "export ROS_DOMAIN_ID=put-your-domain-id-here" >> ~/.bashrc
Installing OpenCV and Streaming Support
Make sure you have installed pip3 (this can be done through apt-get as shown earlier).
Install Sckit-Build and OpenCV.
pip3 install scikit-build
pip3 install opencv-python
Make sure hping3 is setup so you can stream video from the robot.
sudo setcap cap_net_raw+ep /usr/sbin/hping3